Before you buy WaterGate leaf guard check that:
- Your house has standard 125mm wide guttering.
- The roof overhang is about 5cm into the gutter.
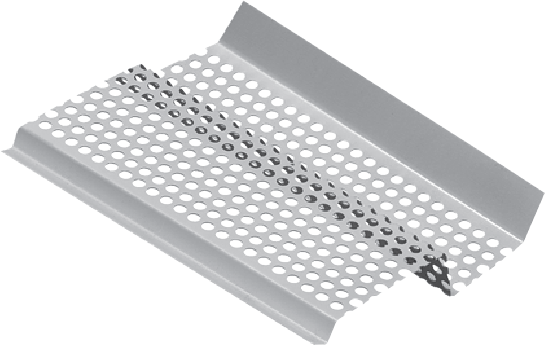
How to Install Your WaterGate®
You will need a pair of tin snips for trimming and a thick pair of gloves for protection before installing your WaterGate.
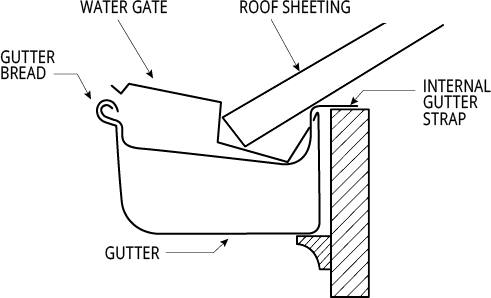
Before a New Roof is Installed
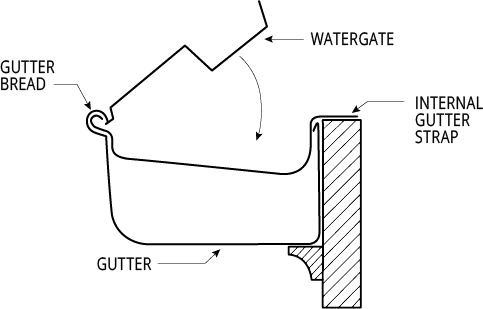
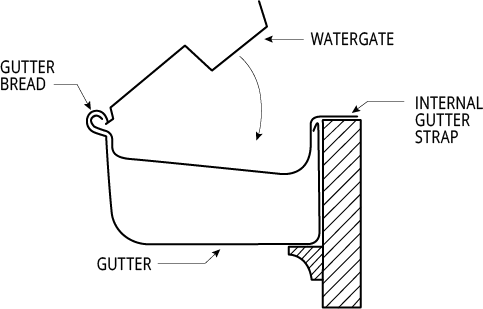
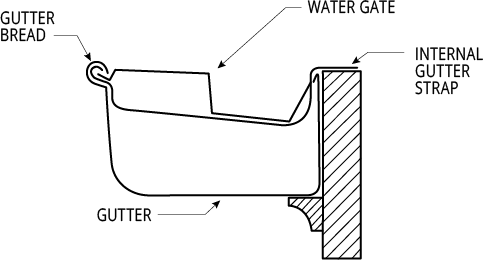
1. Insert the small ‘v’ shaped end of WaterGate into the gutter’s outer edge bead.
2. Lower WaterGate until it sits on the internal gutter straps.
3. Insert further lengths as per Step 1, allowing a 25mm overlap.
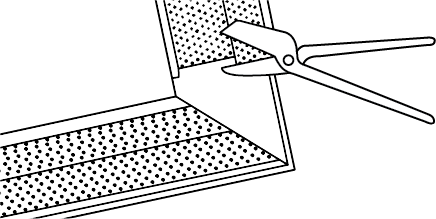
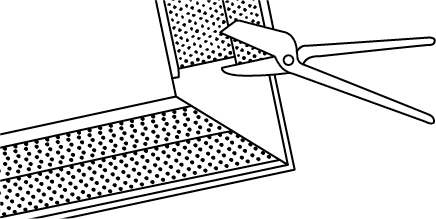
4. At gutter corners, cut to 45 degrees with tin snips and butt together.
On an Existing Tiled Roof
- For a tiled roof, simply slide back one row of tiles to expose the entire gutter and proceed as above for new roofing, sliding tiles back into place when finished
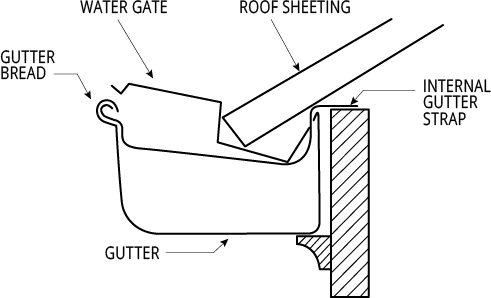
On an Existing Steel Roof
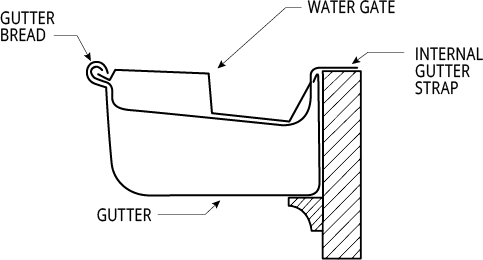
- Position WaterGate as shown so the flat edge slips up under the roof’s edge and is supported beneath by the internal gutter straps.
- Wearing heavy gloves, compress the WaterGate by hand, by pushing it against the back of the gutter.
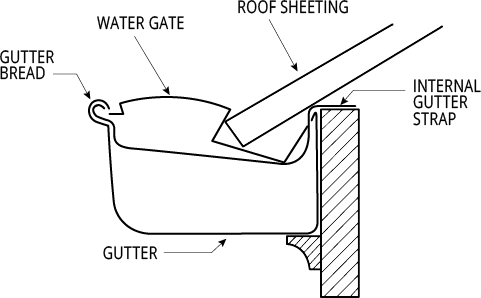
-
This will allow you to insert the outer ‘v’ shaped edge into the gutter’s outer edge bead, clipping the WaterGate securely in place.

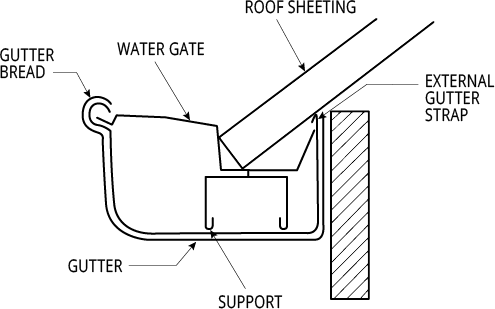
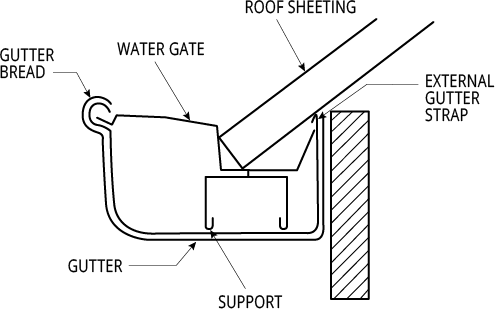
Guttering with external brackets.
Support blocks are available from WaterGate stockists. Position support blocks one metre apart and follow as above for new or existing guttering.
Note:
REMEMBER You will need tin snips and gloves to install WaterGate®.